Root And Optimize MiBox 3S
AndroidAndroid TVMiBoxI’ve bought a MiBox 3S to watch TV and video for a long time. These days I’ve done lots of things to secure my digital life and privacy, like changing my email to Proton Mail, changing the search engine to DuckDuckGo, using Authy to enable 2FA when possible, and so on. So I didn’t turn on the MiBox for a long time since I don’t feel secure letting a XiaoMi device run all the time in my LAN. The business model of XiaoMi is to sell cheap devices and push ads to you. So it definitely collects your data. But I do need a device to watch TV or video on a big screen, so I decided to root and clean it to make it more secure. Here is how I did it:
1. Preparation
1.1 How to Recover the Device
You need to know how to recover the device if you failed to root it and messed the system up. Just turn off the device, press confirm and back button on the remote control at the same time, then turn on the device. You can find it will enter the recovery mode and has an option to recover to factory settings.
1.2 Some Apps and Scripts
Some apps and scripts are used to grant the root permission. You can follow this video to root the device (but don’t follow the video to install the Google Apps), then come back here from step 3.
If you don’t want to watch the video, just download the needed folder MDZ18AA_1.5.2 and follow this tutorial from step 1.
1.3 How to Install Apps
You need a USB drive to install the apps. Put the APKs in the USB drive and plug it into MiBox. It will prompt to open it. Then you can install the APK from it. KingRoot, SManager and SuperUser are already bundled in the directory MDZ18AA_1.5.2. You can download APKs of other apps from websites like APK Mirror or APK Pure.
The apps used are:
- KingRoot: Grant root permission.
- SManager: Copy files and run scripts.
- SuperUser: Manage root permission.
- HALauncher: The third-party launcher.
- Ice Box: Disable the built-in apps.
- Greenify: Disable the background running.
- AFWall+: Disable network access.
- Smart YouTube: The YouTube client for TV that doesn’t need Google service installed.
1.4 Prepare a Mouse
We must use a mouse to do some operations since many apps are not designed for TV.
2. Root the Device
Rooting the device is easy. Just install the app KingRoot and follow the instructions. One thing to notice is after rooting, KingRoot will ask you to optimize the system. Don’t do that!. Since KingRoot is found to have bad behaviors. We will clean it up and use Superuser to replace it.
3. Cleanup KingRoot and Install Superuser
- Install SManager.
- In SManager, copy the downloaded folder MDZ18AA_1.5.2 from USB drive to
/storage/sdcard0. - In SManager, open
1_ROOT/SuperSU.sh, checksuoption and run it.
4. Install A Third-Party Launcher
Many people use the original Android TV launcher from Google. I don’t want to do that. Since you must install a lot of Google apps in order to use it (which means it’s also bloated), and it’s not very convenient to use Google in China. So I decided to install a third-party one. At last I chose HALauncher. It is very simple and clean. After some simple configurations, the UI looks very beautiful. Here is a picture of it:
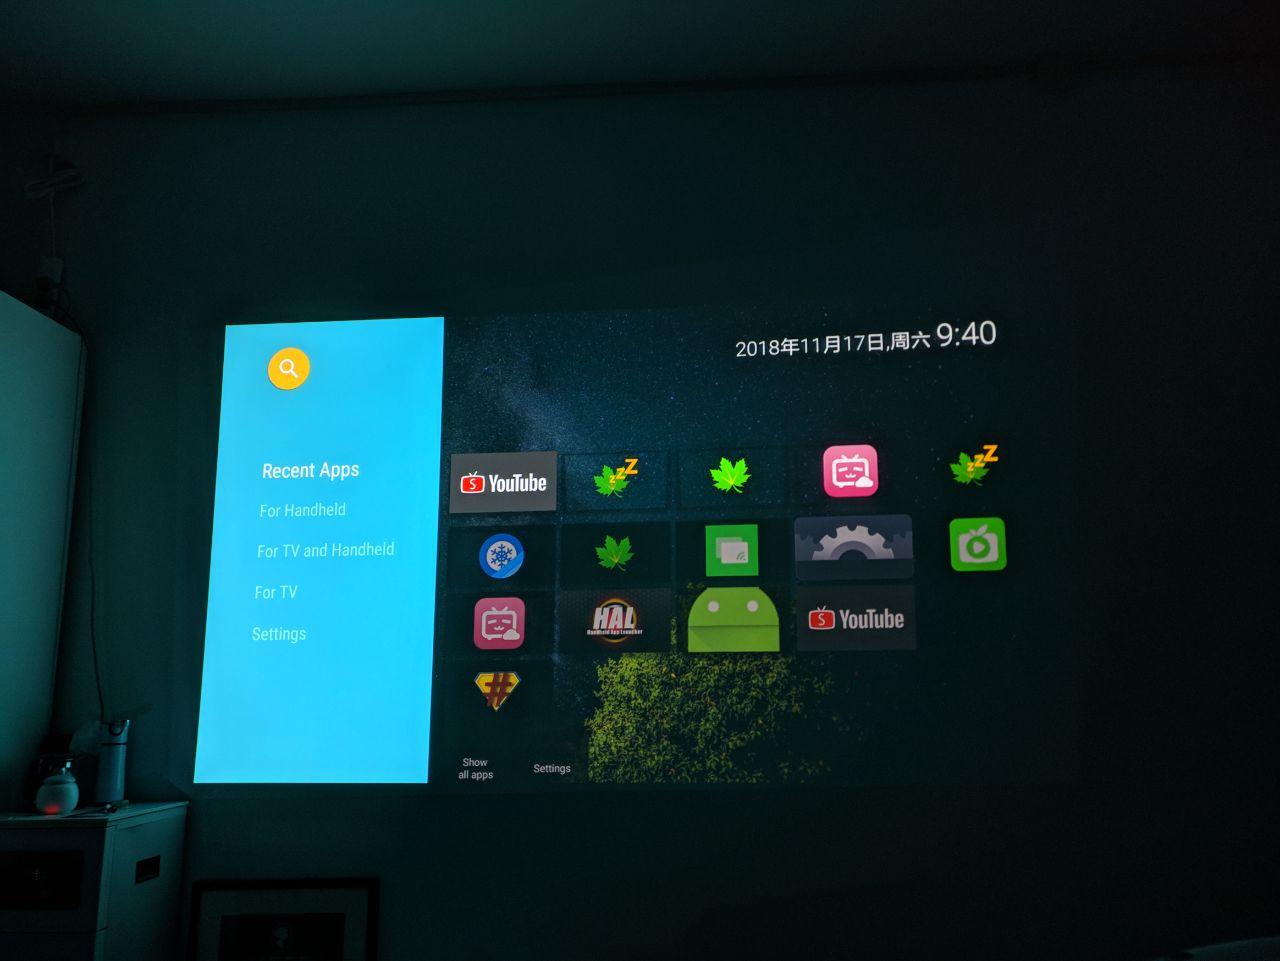
However, after installing HALauncher, we cannot set it to default. In order to use it, we must disable the built-in launcher.
5. Disable Built-in Apps
Uninstalling built-in apps will get a higher risk since the built-in apps are integrated with the device very deeply, if you uninstall the wrong one it may make the device unusable. So I use the app Ice Box to just disable them. After disabling the built-in launcher, the system will use the third-party launcher that you installed in the last step.
One thing that is not very convenient about Ice Box is that the operations must be done with a mouse. On the phone, you can add shortcuts to open the disabled apps, but I didn’t find that option on TV. So I also installed Greenify to make the daily used apps not run in the background.
After disabling the built-in apps, if you want to use the USB drive, you must open the original launcher from XiaoMi as well as the MiSystem app from Ice Box. After mounting the USB drive, you can disable them again.
6. Disable Network by Default
Even though we’ve disabled the built-in apps, we cannot ensure security either. Since XiaoMi may have modified the Android OS. So I disabled the network entirely with AFWall+ and only let limited video apps have access to the network. So whatever XiaoMi built into the OS cannot upload anything to its server, and it cannot download and upgrade the system, either. (In theory, XiaoMi can also upload things by modifying the kernel but I don’t think it will do things that deep.)
7. Install Some Video Apps
At this step, the system is clean. You can install your favorite video apps. If you want to watch YouTube, you cannot install the official one since it needs Google services. You can install Smart YouTube instead. I think it is much better than the Google one. After installing the video apps, don’t forget to give them network access in AFWall+ and disable the background behavior in Greenify.
Since I’m in China behind the GFW, I also installed ShadowSocks in order to watch YouTube. It is easy to use as on a phone, but may need a mouse to configure it.
So here are all the things, happy hacking the device!